Industry trends are causing frustrations for test and quality engineers, proving the need for non-destructive testing that is affordable, can handle complex materials, and meets the latest standards. At Optrion we believe Shearography offers a viable solution.
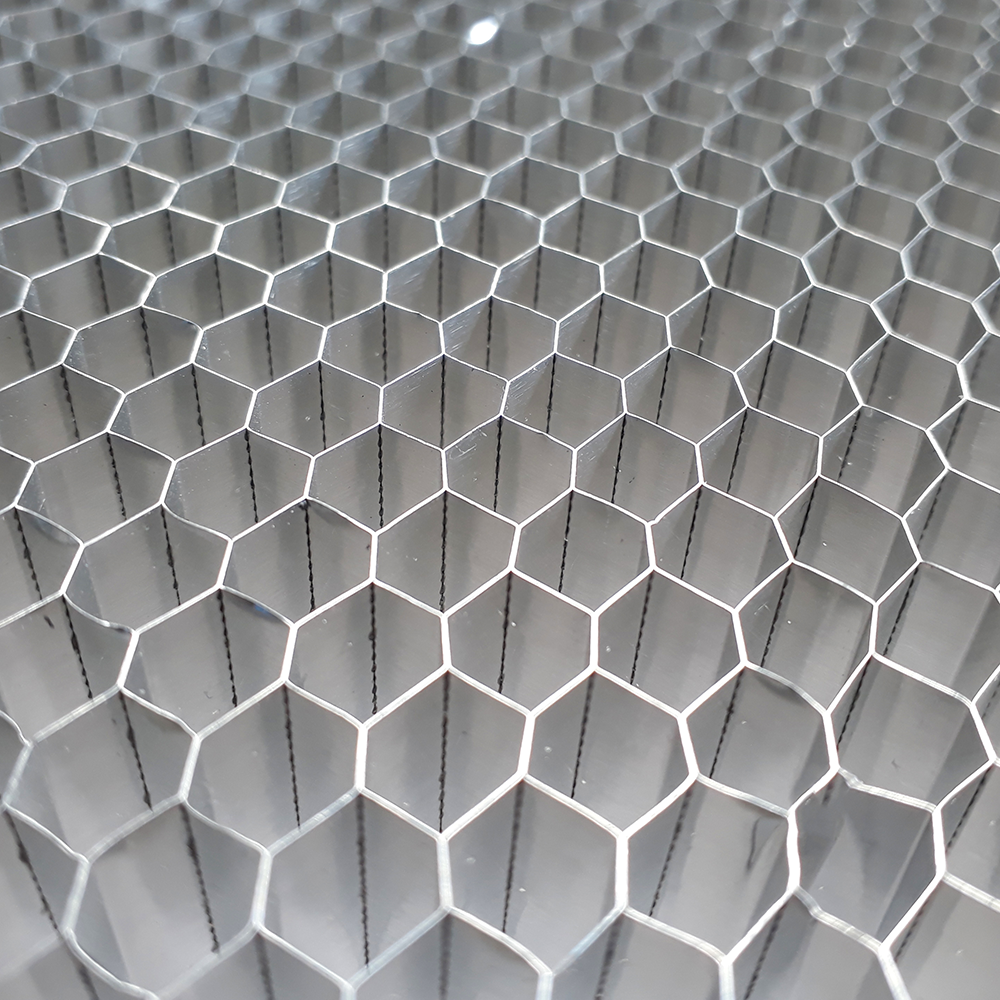
Testing is more complex due to the nature of the materials. Design and engineering is limited by downstream testing capabilities.

It is tricky to meet the expectations on safety and reliability. Testing becomes lengthy and expensive.

NDT has a reputation for being expensive. Slow and lengthy processes also incur considerable time costs.
Inspection rate is everything. Time is money. At Optrion we recognise this and believe Shearography has the potential to disrupt the market and become the solution with the fastest inspection rate for 99% of testing cases.
The system takes a reference image for later comparison against the stressed image.
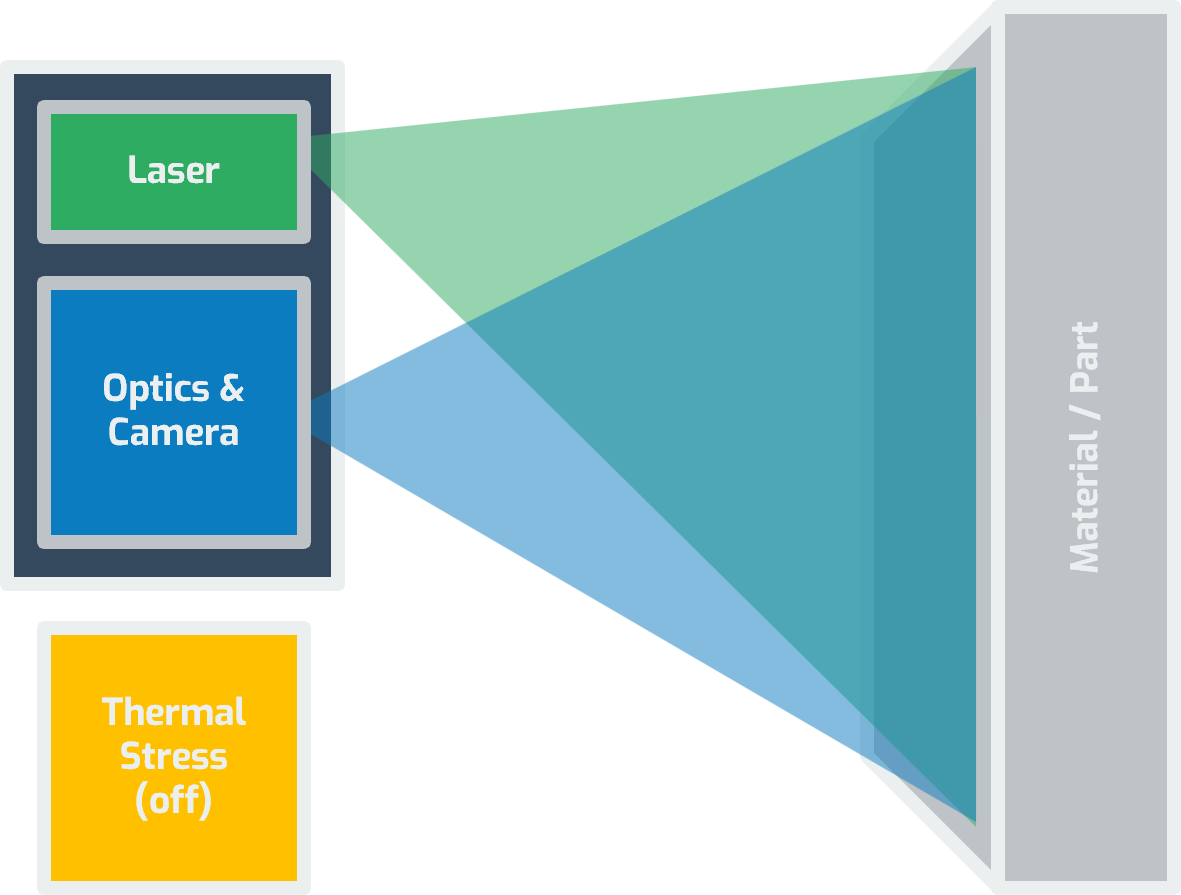
Typically a thermal stress is applied to the material to reveal micron level deformations in the material.
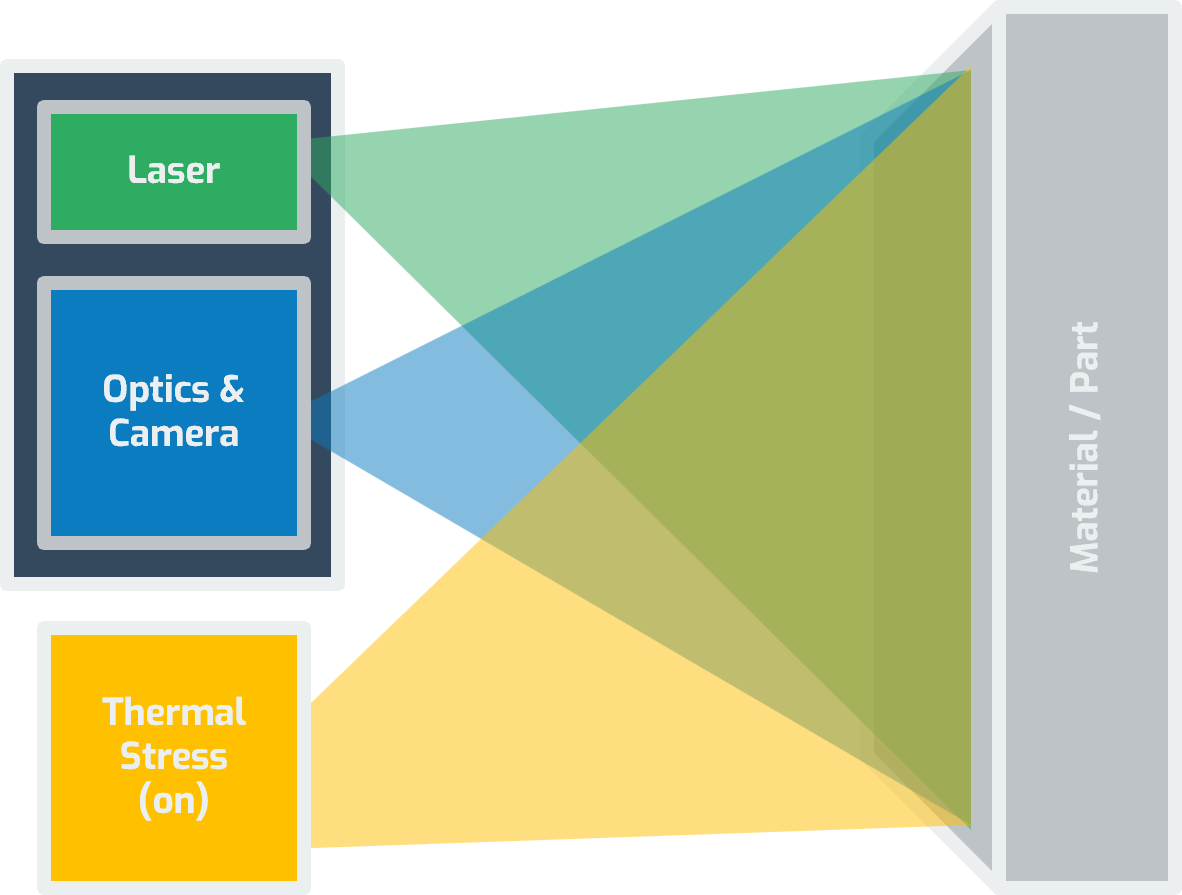
In real-time the images are compared and unwrapped for easy interpretation.
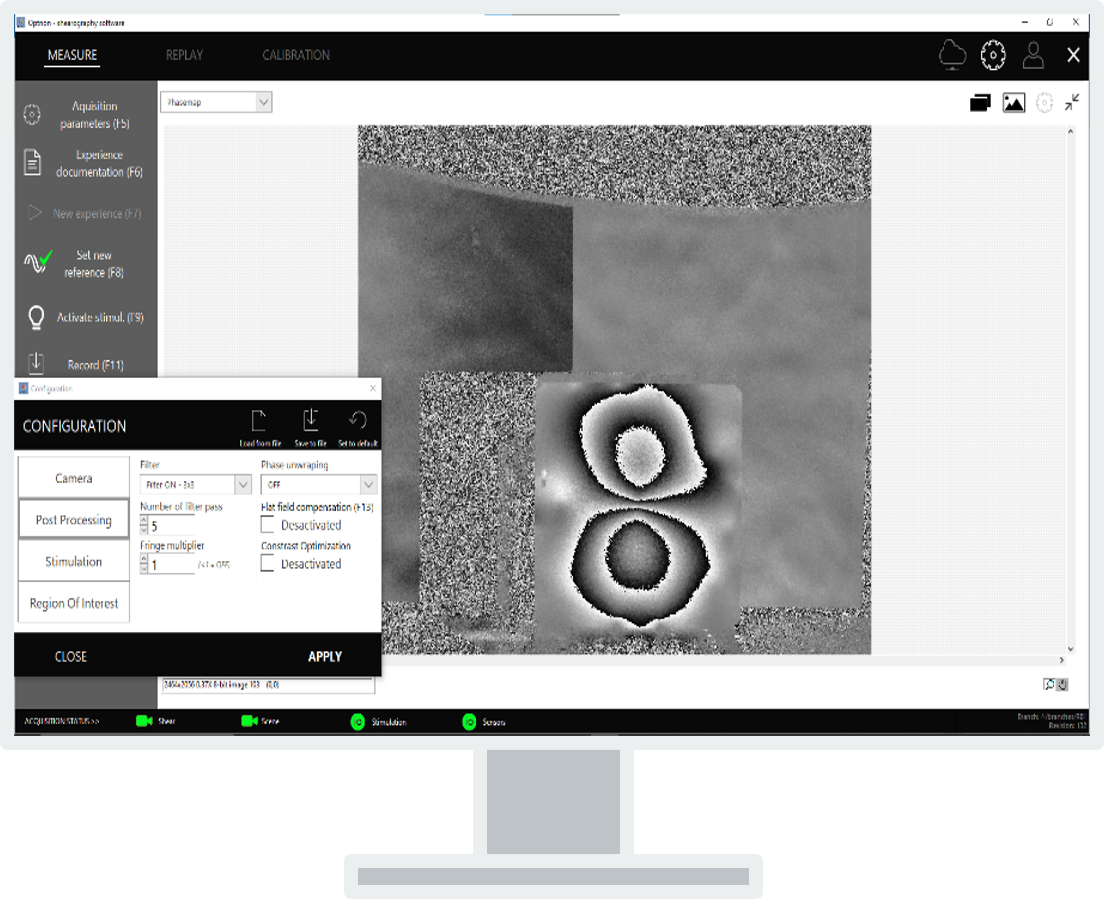
The images are processed by the software to provide images that are easier to interpret than the original outputs. This is an example where a few microns of deformation are applied to a flat sheet to show clearly a basic defect.
The material or component under ambient load.
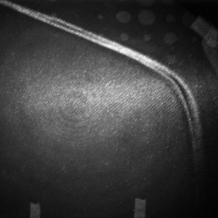
The material or component under thermal load.

The raw comparison data outputted by the software.
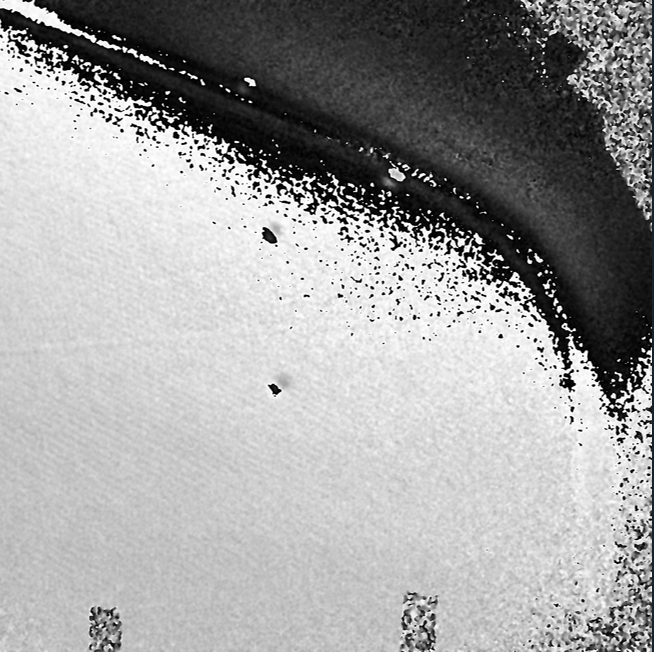
A simplified image so defects are easier to detect & interpret.
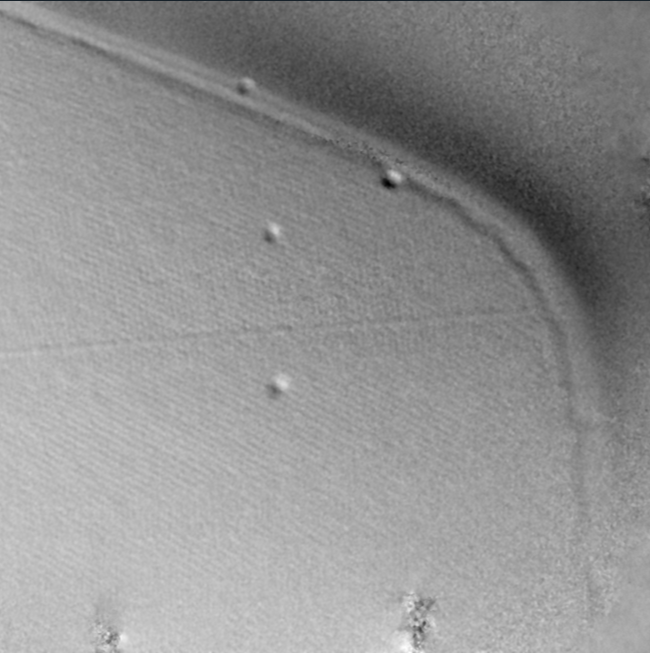
We recognise that Shearography is a new technique for many people. Part of the work Optrion is doing is to educate the industry objectively as to how Shearography works and most importantly why it is a useful testing method.
Request a DemoOur solution delivers all the optics and laser within one handheld, durable, and lightweight package. Plug in the device and connect it to a computer via USB for it to be recognised by our software.
Product Sheet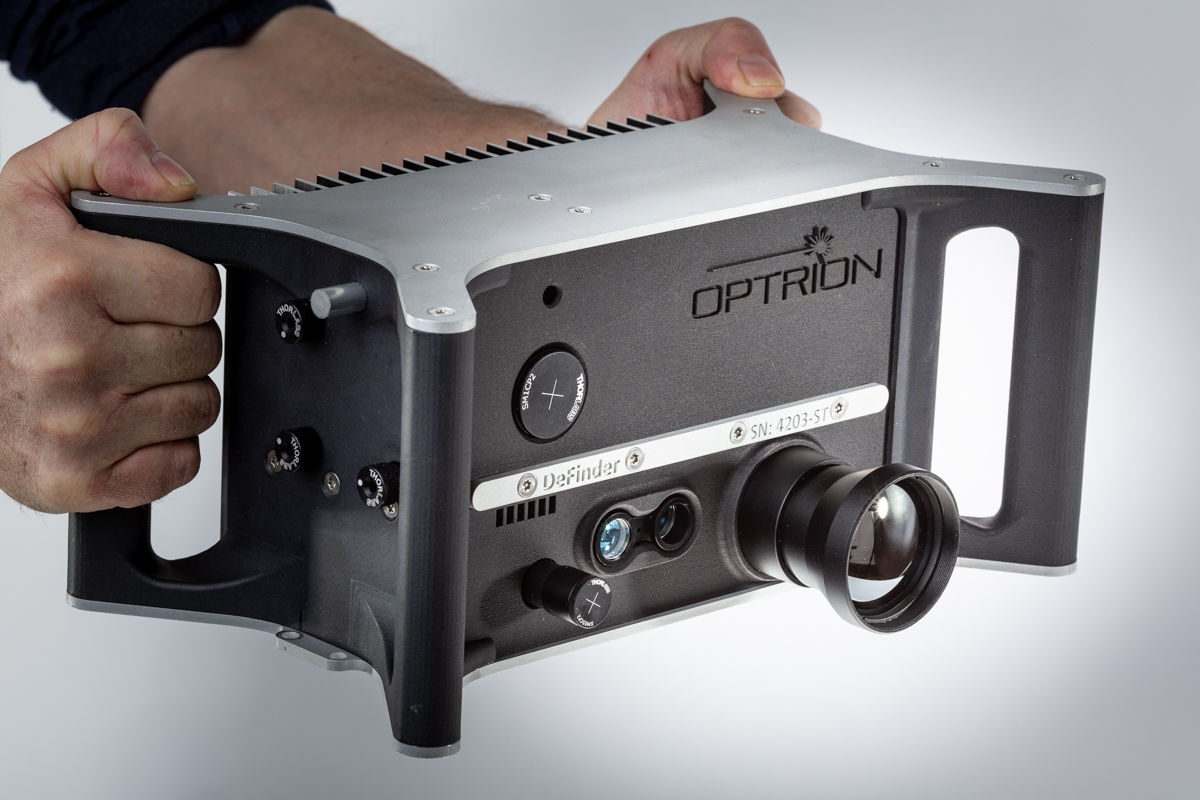
We have designed our software around the core mission of simplifying the process. Our user friendly solution works on any Windows device and connects automatically to our hardware when it is plugged in.
Product sheet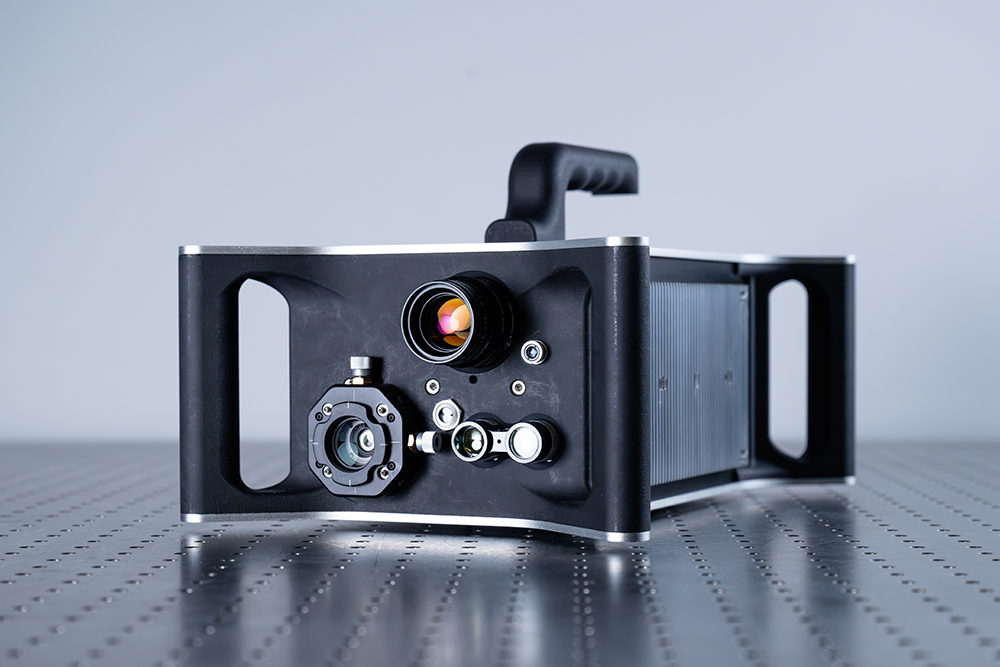
We have designed our software around the core mission of simplifying the process. Our user-friendly solution works on any Windows device and connects automatically to our hardware when it is plugged in.
Our user interface follows the main steps of your inspection process:
Optrion's shearography product can be easily robotized enabling fully automated repeatable inspections. DeFinder 4300 is specially adapted for these applications because...
To make Shearography a viable, reliable, and affordable solution and therefore making it accessible to every industry.
Optrion is a spin-off from the Liege Space Center, and we continue to be based in Liege today.
Optrion is located in western Europe.
In the USA, this technology has been adopted for a number of years. Predominantly for defense and space industries alongside applications in research fields.
However, widespread adoption has been severely limited by the cost of the solution offered.
Optrion is here to change that.
In the 80s Shearography was pioneered as an analog testing method.
The technique has benefitted greatly from digital transformation. This has enabled a smaller, simpler, and cheaper solution. Image processing techniques have also drastically improved detection capabilities.
Optrion has brought that to market.
Our solution takes a promising technology and packages it as a solution that provides tangible benefits to you, the user.
Shearography is completely contactless, allowing you to test complex materials or components in-situ.
Shearography is quick to setup, taking on average just 1 minute between inspection zones.
Shearography typically can be setup in <15 minutes, all you need is our device, your laptop and a heat source.
Shearography enables the user to quickly test large areas. Up to 1m2 per shot, combined for larger areas.
Optrion uses 5 megapixel images, allowing detection of smaller, less obvious defects.
Our Shearography device weighs just 5kg and can easily be carried in a backpack or briefcase.

Optrion is partnering with GDTech on COPHYDIS (COmposite Pressure Vessels for HYdrogen storage -Defect Inspection and Simulation"), a Walloon R&D programme under COOTECH funding - FEDER program (2024-2027). The project’s goal is to make high-pressure hydrogen storage safer by combining our DeFinder® shearography for full-field non-destructive inspection with GDTech’s advanced numerical modelling. Together we will detect and quantify internal flaws, correlate test data with simulations, and deliver an industry-ready methodology for current and next-generation Type IV composite pressure vessels. With public support from FEDER and the Walloon Region covering 70 % of a total €1.31 million budget, COPHYDIS underscores Wallonia’s strategic commitment to the hydrogen economy.
Will you give us the opportunity to prove our best in class inspection rate with a product demonstration?
Request a demo